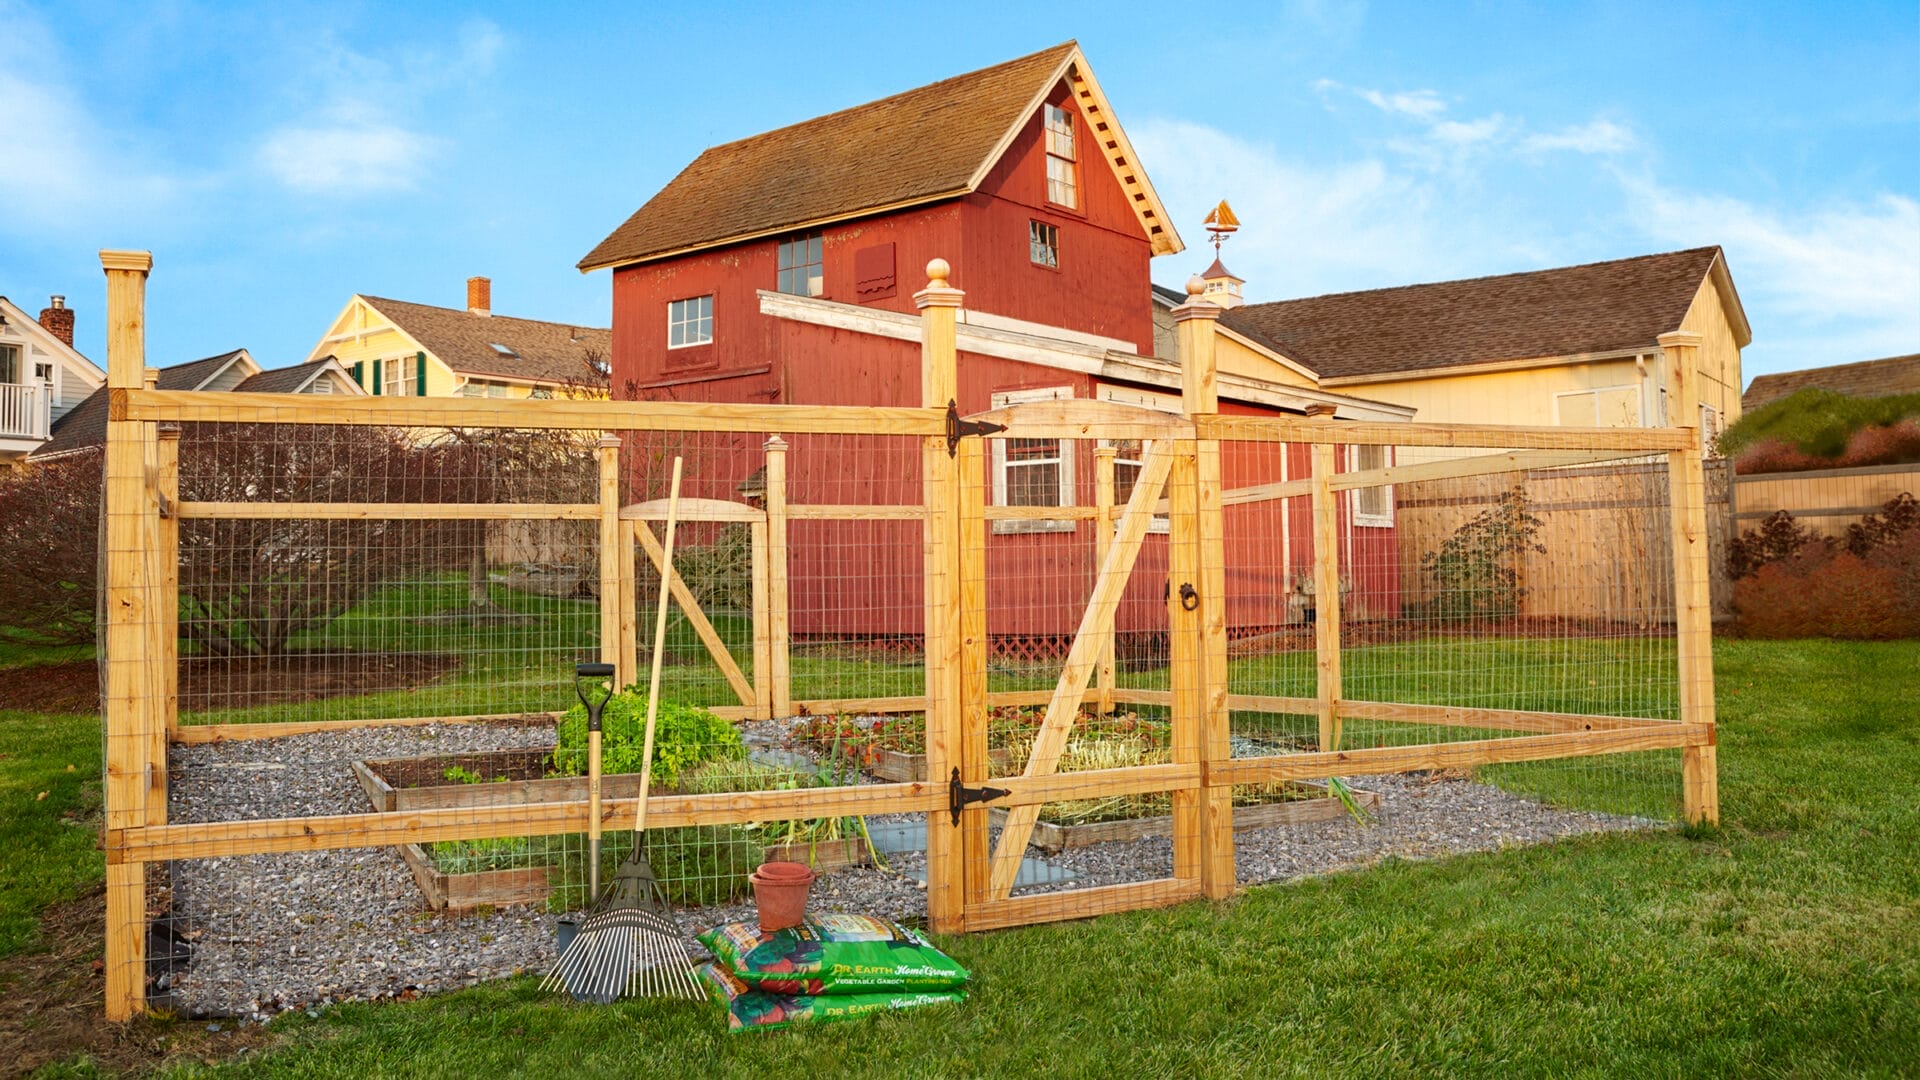
Installing a fence doesn’t have to be expensive or time-consuming. With the right materials, tools, and a little planning, you can build an affordable fence over the weekend—saving money while enhancing your home’s privacy, security, and curb appeal. Whether you’re looking to keep pets in, neighbors out, or simply mark your property line, this guide will show you how to install a fence without breaking the bank or taking up multiple weekends.
Step 1: Choose the Right Affordable Fence Material
The first step is picking the right material. Some fencing materials are more budget-friendly and DIY-friendly than others. Here are some top options:
- Wood (Pressure-Treated Pine): A classic and cost-effective choice. Pressure-treated pine is durable and widely available.
- Vinyl Panels: Slightly more expensive than wood but easier to maintain. Pre-assembled vinyl panels can save time during installation.
- Chain Link: Extremely affordable and durable, but not the most stylish. It’s ideal for backyards or utility areas.
- Welded Wire with Wood Posts: A smart hybrid solution that’s cheap, fast to install, and offers decent visual appeal.
When aiming for an affordable fence, wood is usually the most budget-conscious option, especially if you purchase panels in bulk or find reclaimed lumber.
Step 2: Gather Tools and Supplies
Before you begin, ensure you have all the tools and materials needed for a smooth workflow:
- Fence panels or pickets
- Fence posts (wood or metal)
- Post hole digger or auger
- Concrete mix or gravel
- Level and measuring tape
- Hammer, nails, or drill and screws
- String line and stakes
Having everything ready before the weekend starts saves time and prevents unnecessary trips to the hardware store.
Step 3: Mark and Measure the Fence Line
Planning is everything when installing an affordable fence quickly. Begin by outlining your property line using stakes and string. Use a measuring tape to ensure post spacing is even, typically 6 to 8 feet apart. Make sure your layout complies with local building codes and that there are no hidden utility lines where you’ll be digging.
Step 4: Dig and Set the Posts (Day 1)
Start early on Saturday by digging the post holes. Each hole should be one-third the length of the post and at least 2 feet deep. A post hole digger works fine for small jobs, but you may consider renting a powered auger for faster progress.
Set your first post and use a level to ensure it’s perfectly vertical. Add concrete mix or gravel to secure it, then repeat for the remaining posts. Allow at least 4 to 6 hours for the concrete to set before attaching panels or rails. Ideally, let them set overnight for maximum stability.
Step 5: Attach Fence Panels or Rails (Day 2)
On Sunday, begin attaching fence panels or horizontal rails. If you’re using pre-made panels, installation is relatively quick—just screw or nail each panel to the posts. If you’re building a fence from individual pickets, install the top and bottom rails first, then space out the pickets evenly.
Use a level and measuring tape to maintain consistency across each section. If you’re working alone, temporary supports can help hold panels in place while you secure them.
Step 6: Add Finishing Touches
Once the fence is fully installed, take a few extra steps to ensure durability and curb appeal. Consider applying a weatherproof sealant or wood stain to protect wooden fences from the elements. If you’re using vinyl or chain link, check that all panels are tightly secured and clean up any debris.
Bonus Tips for a Successful DIY Weekend Fence Project
- Enlist a friend: A helper can hold posts, hand you tools, or assist with measuring.
- Buy in bulk: Purchasing materials in larger quantities often gets you better prices, keeping your fence truly affordable.
- Rent tools instead of buying: Save money by renting specialized tools like augers or power saws.
- Reuse materials: Repurpose old wood or metal for even more savings. Just ensure it’s still in good condition.
Conclusion
Building an affordable fence in just one weekend is absolutely achievable with proper planning, the right materials, and a little elbow grease. Not only will you save money on labor costs, but you’ll also gain the satisfaction of improving your property with your own two hands. Whether you’re going for privacy, security, or style, this project can boost your home’s value without draining your wallet—or your time. So grab your gloves, roll up your sleeves, and transform your yard in just two days.


